
Now that we have our backend service complete, we can move on to the front end. In Part 1, we created an API and designated the client path as the place to insert all of our static assets.
Now is a good time to grab the sample code and take a look in the client path.
For our starter app, I have chosen to use the following technologies:
jQuery
I don’t think I need to go into detail here; jQuery is used simply to start up the page.
HTML5 Canvas w/ Pixi.js and Greensock TweenLite
The Canvas element is a great way to deliver dynamic user experiences. However, as your project becomes more complex, you’ll find rather quickly that asset management and optimization are not built in. So rather than build our own rendering engine, I’ve opted to use Pixi.js.
Pixi.js is a lean canvas library that lets you take advantage of WebGL performance, yet also deliver to non-WebGL capable browsers. One great advantage of Pixi.js, versus rolling your own engine, is that Pixi.js provides a scene graph to manage all of your sprites.
Greensock.js is an animation library for tweening. Tweening is the method of changing the value of a property over time. For example, you can use it to move a sprite by tweening the x and y values. I’ll cover why this is useful later in the post.
Web Workers
Web Workers allow the browser to run chunks of JavaScript on a separate thread from the browser.
When creating an experience with a canvas, the browser tends to get preoccupied with rendering all the pretty graphics on the canvas. If you don’t use Web Workers, anything you do between frames will degrade the overall performance. This is especially noticeable on CPU-limited mobile devices.
In our sample app, we use a Web Worker to handle API requests, offloading network tasks to a separate browser thread.
Why Not WebSockets?
WebSockets allow for dedicated, bi-directional network streams between browser and server. For real time multiplayer gaming, WebSockets may be a better choice. However, they are a topic best suited for their own post. Stay tuned.
The Client
If you followed Part 1, copy the contents of the client path in our code to the same path in your newly created app. From the command line, cd into your app path and run the command:
slc run
Once the app is running, you can test it out by visiting "http://localhost:3000" in your browser. You should see something like this:
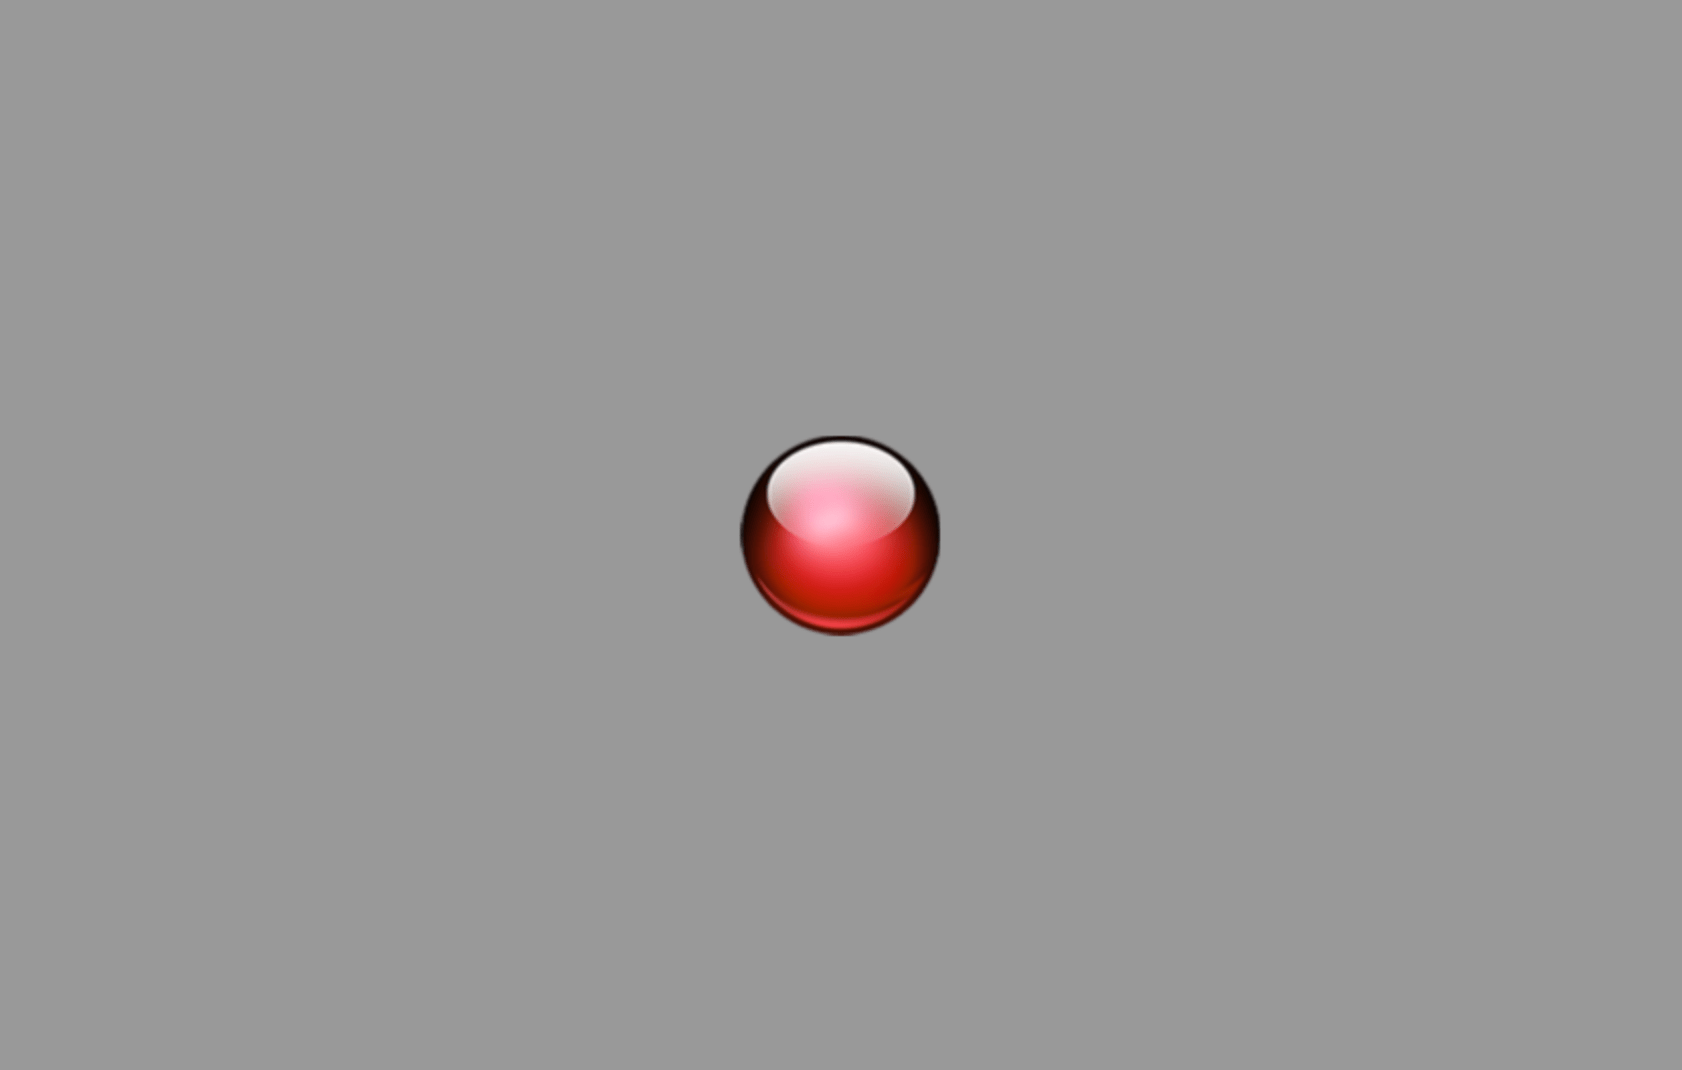
Wow, all that for a red marble in the middle of a gray rectangle?
Click and drag anywhere in the canvas to move the marble around. Again, not very interesting yet.
Now open a second browser window (not a tab but a full window) and visit the same URL. You should now see something like this:
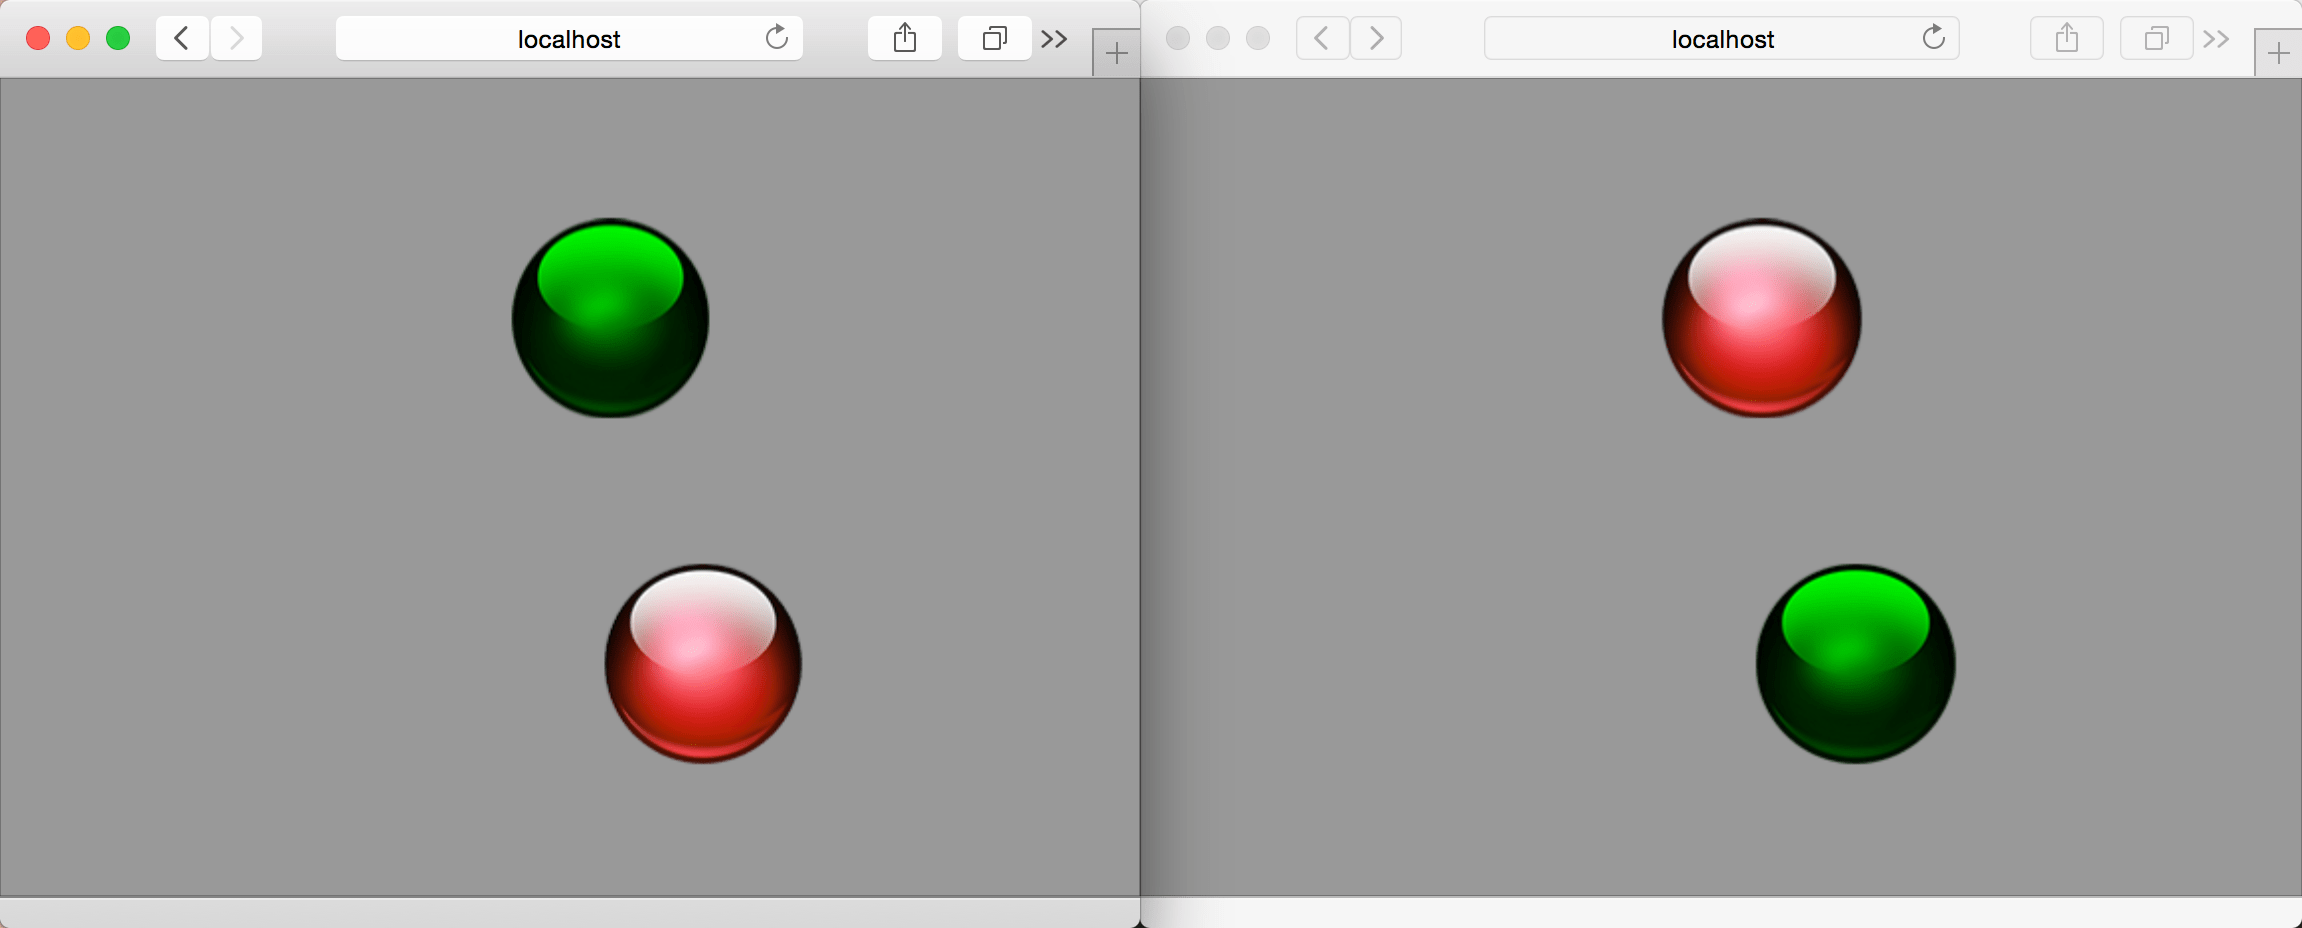
If you click and drag in either browser, you will see the marble move in both browsers. The red marble is the marble controlled by that browser. All other marbles are tinted green.
Open two more browsers to add more players to the space.
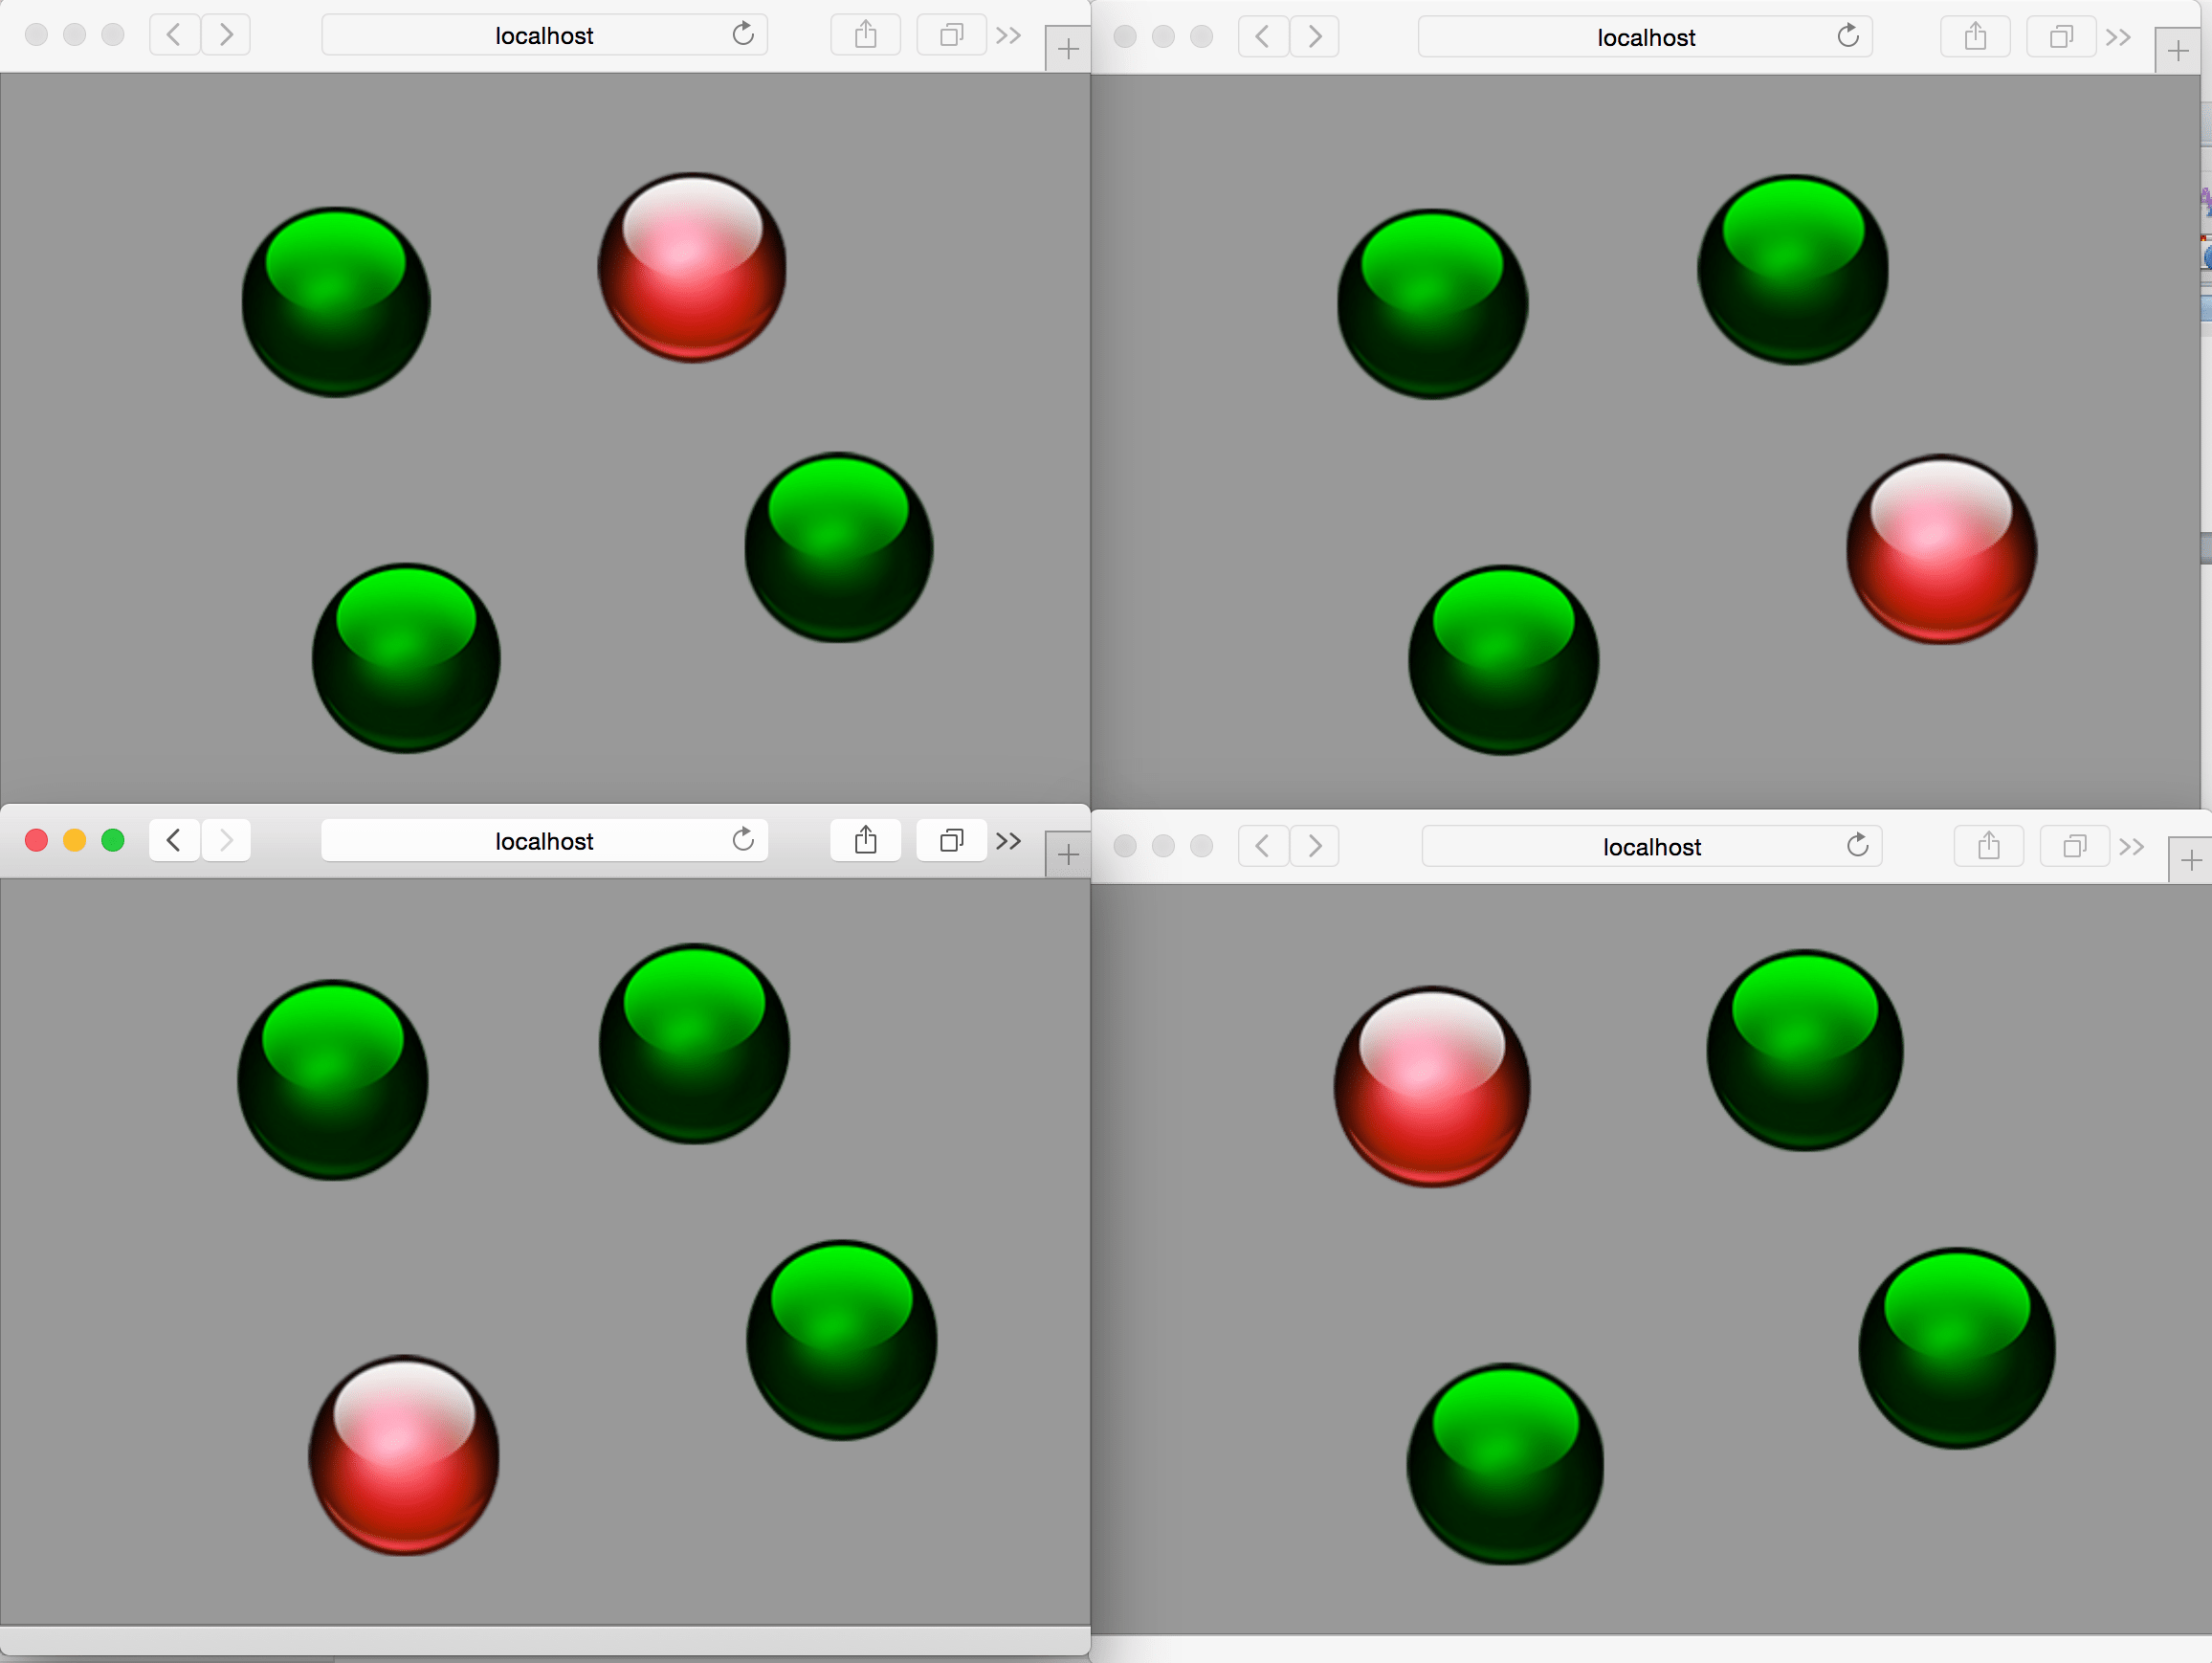
If you close one of those windows, that player's marble will disappear after ten seconds.
Client Code Highlights
index.html is a minimal page with an empty body that references required libraries and our code in client/js/main.js. Take a look at main.js and review the code and comments. Here are some highlights:
Web Worker
// setup web worker

if (window.Worker) {

     console.log('Web Workers!');

     networker = new Worker('js/com/liquidint/multiplayer/networker.js');

}
This detects if web workers are compatible with the browser and initializes the web worker with the JavaScript in js/com/liquidint/multiplayer/networker.js. Because a web worker has no concept of the DOM, we can only use it for handling data, networking, calculation tasks, or most everything else not reliant on the browser.
When a web worker is used for periodically polling a service, there is potential for things to get out of sync. To prevent this, the API requests are sequentially tagged. If a response comes back with a tag value less than the most recent request, we drop the response.
function netWorkerListener(e) {

     /*

     * This method updates the player data only if the requests come back

     * in the order sent. Because we are using a worker, a post may take

     * longer than others and be returned out of order. In this case we

     * ignore the update to prevent old data from being used.

     *

     * If there are many dropped updates, raise the refresh value.

     */


    if (e.data.seq > lastSeq) {

        playerData = e.data.players;

    } else {

        console.log('Dropped: ', e.data.seq, lastSeq);

    }

    lastSeq = e.data.seq;


}
Mouse and Touch Input
A key part of this sample app is that we don’t first move the sprite on screen and then report its position. We only send the input of the mouse or touch event and let the server report the actual positions in the response.
Setting the location we want the sprite to move to:
function setTarget(pointData) {


    /*

     * Navigate the sprite to a new place by setting the target coordinates.

     * The sprite will move to that position over time.

     */


    console.log("New Player Target Location: " + pointData.global.x + "," + pointData.global.y);

    playerTargetX = pointData.global.x - centerX;

    playerTargetY = pointData.global.y - centerY;

}
Reporting that location to the API:
function doGameState() {

    /*

     * Send local player updates and get game state back.

     */


    if (playerGuid != null) {

        if (networker != null) {
             // let worker handle network on different thread
            networker.postMessage(['/api/Players/setlocation', 'guid=' + playerGuid + '&x=' + playerLocationX + '&y=' + playerLocationY, seq]);

             // increment to keep track of post order
            seq++;

             // call again after amount of time. not waiting for previous call to finish.
            setTimeout(function () {

                doGameState();

            }, refresh);

         } else {

             // fall back if browser doesn't support web workers
             $.post("/api/Players/setlocation", { guid: playerGuid, x: playerLocationX, y: playerLocationY }).done(function (data) {

                playerData = data.players;

                 // call again after this call is complete.
                setTimeout(function () {
                    doGameState();
                }, refresh);
            });

        }
     }
}
The above code also includes a fallback if the browser doesn’t support web workers; it uses setTimeout in the done method of a standard jQuery post.
Updating Sprites
While the web worker is constantly updating the player data, the canvas animation calls updateRemotePlayers on every frame.
function updateRemotePlayers() {
     /*

     * Update all players with their new positions as received from

     * the service. The local player is also updated in this process.

     */

     if (playerData) {

         // assume all players are invalid until proven otherwise
        $.each(playerDirtyList, function (key, val) {
            playerDirtyList[key] = 1;
        });

         $.each(playerData, function (index, item) {
             var pixiSprite = null;
             if (playerList[item.id] != null) {

                // get existing player sprite. using ID here because remote player GUID is not known.
                pixiSprite = playerList[item.id];


            } else {
                // player is new to the local player so create new sprite and add to stage.
                pixiSprite = new PIXI.Sprite(playerTexture);
                playerList[item.id] = pixiSprite;

                if (item.id != playerID) {

                    // if this payer is not the local player then tint the ball to differentiate.
                    pixiSprite.tint = 0x00FF00;
                }

                // center the sprites anchor point
                pixiSprite.anchor.x = 0.5;
                pixiSprite.anchor.y = 0.5;

                // add to the PIXI stage. PIXI uses a scene graph so we only need to do this one time.
                stage.addChild(pixiSprite);
            }


            // tween it for smooth motion
            TweenLite.to(pixiSprite.position, 1.5, { x: item.LocationX + centerX, y: item.LocationY + centerY, ease: Linear.easeNone });

            // or not to tween
            //pixiSprite.position.x = item.LocationX + centerX;
            //pixiSprite.position.y = item.LocationY + centerY;

            // set clean
            playerDirtyList[item.id] = 0;
        });

        // remove all dirty sprites. players that have left the game should be removed.
        $.each(playerDirtyList, function (key, val) {

            if (val == 1) {
                stage.removeChild(playerList[key]);
            }
        });
    }
}
This method parses the player list, checks to see if the player already exists, adds a new player if not, and removes the player if it is no longer in the list. The player sprite positions are then updated with the new values. This is where tweening comes in. If we were to immediately set the location values, the sprites would choppily move to the position reported by the server at the API refresh rate. By using TweenLite, the sprite can smoothly move to the new point, at full 60 FPS, while waiting for the next update.
Wrap It Up
I hope you found this guide helpful in discovering new possibilities when combining great technologies. That being said, I have some disclaimers. This guide and sample code are not meant for use in a production real-time multiplayer game. Much work is needed to make something truly scalable and secure. So, where to go from here? Check out links at the bottom of this post and don’t hesitate to reach out and collaborate.
Other Posts in This Series
- Recipe for Real Time Multiplayer with HTML5 Canvas & Node.js Part 1: Backend
- Real Time HTML5 Canvas & Node.js: Now with Sockets!
- Unity Game Engine & HTML5 Socket Mashup
Related Links
- Web Workers
http://techslides.com/html5-web-workers-for-ajax-requests - Pixi.js
http://www.pixijs.com - Greensock
http://greensock.com - Node.js
http://nodejs.org - Strongloop Loopback
http://strongloop.com/get-started/
Let us put our HTML5 skills to work for you! Contact us to find out how Liquid can help.